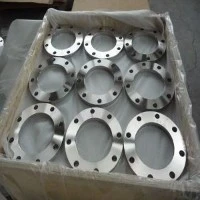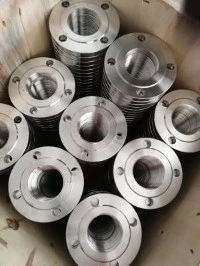
A BSP (British Standard Pipe) threaded flange is a crucial component in many piping systems, providing a secure and leak - tight connection. However, like any mechanical part, it can get damaged over time due to various factors such as corrosion, mechanical stress, or improper installation. As a BSP threaded flange supplier, I understand the importance of being able to repair these flanges to ensure the continued functionality of the piping systems. In this blog post, I'll guide you through the steps of repairing a damaged BSP threaded flange.
Step 1: Inspection and Assessment
The first and most crucial step in repairing a damaged BSP threaded flange is to conduct a thorough inspection. Carefully examine the flange for signs of damage such as cracks, corrosion, or worn - out threads. Use a magnifying glass if necessary to detect small cracks that might not be visible to the naked eye.
Check the flange's surface for any signs of pitting, which could be an indication of corrosion. Measure the depth of the pits using a micrometer or a depth gauge. If the pits are too deep, they may compromise the structural integrity of the flange.
Inspect the threads on the flange. Look for signs of wear, such as rounded or missing threads. You can use a thread gauge to check if the threads are still within the acceptable tolerance. If the threads are severely damaged, they may need to be re - threaded or replaced.
Step 2: Cleaning the Flange
Once you have assessed the damage, the next step is to clean the flange. Remove any dirt, debris, or rust from the surface of the flange using a wire brush or a sandblaster. If you choose to use a sandblaster, make sure to wear appropriate safety gear, including a respirator and goggles.
For stubborn rust, you can use a rust remover. Apply the rust remover to the affected areas and let it sit for the recommended time. Then, scrub the area with a wire brush to remove the loosened rust.
After cleaning the surface, clean the threads as well. Use a thread chaser to clean and restore the shape of the threads. A thread chaser is a tool that has the same thread profile as the flange's threads and can be used to remove debris and burrs from the threads.
Step 3: Repairing Minor Cracks
If you have identified minor cracks on the flange, you can repair them using a suitable welding method. Before welding, make sure to pre - heat the flange to prevent cracking during the welding process. The pre - heating temperature depends on the material of the flange. For most steel flanges, a pre - heating temperature of around 200 - 300°C is recommended.
Choose a welding rod that is compatible with the material of the flange. For example, if the flange is made of carbon steel, use a carbon steel welding rod. Weld the crack using a TIG (Tungsten Inert Gas) or MIG (Metal Inert Gas) welding process. Make sure to fill the crack completely and allow the weld to cool slowly.
After welding, use a grinder to smooth the welded area. Check the surface of the flange for any signs of porosity or other welding defects. If necessary, re - weld the area to ensure a proper repair.
Step 4: Re - threading the Flange
If the threads on the flange are damaged, you may need to re - thread them. First, determine the size and pitch of the original threads. You can use a thread gauge to measure these parameters.
Use a tap to cut new threads in the flange. Make sure to use a tap that is the same size and pitch as the original threads. Apply cutting oil to the tap to reduce friction and prevent the tap from breaking. Slowly turn the tap into the flange, following the original thread pattern.
After cutting the new threads, clean the flange again to remove any metal shavings. Use a thread gauge to check if the new threads are within the acceptable tolerance. If the threads are not correct, you may need to repeat the re - threading process.

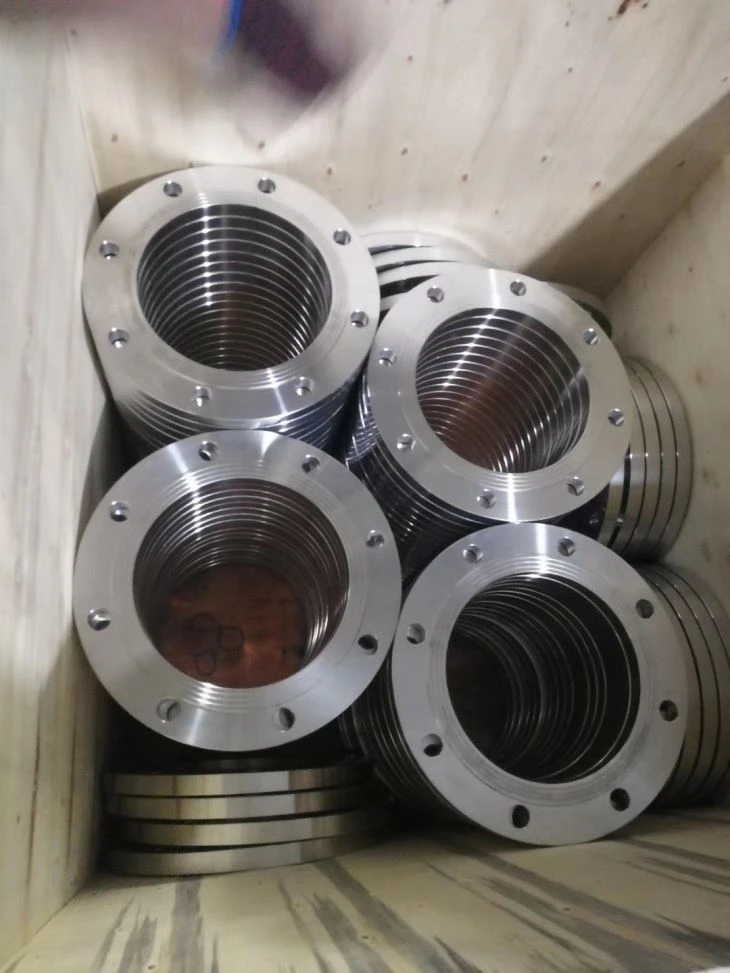
Step 5: Corrosion Protection
Once the flange has been repaired, it is important to protect it from future corrosion. Apply a suitable anti - corrosion coating to the surface of the flange. There are various types of anti - corrosion coatings available, such as epoxy coatings, zinc coatings, and paint.
Choose a coating that is suitable for the operating environment of the flange. For example, if the flange is exposed to a harsh chemical environment, choose a chemical - resistant coating. Follow the manufacturer's instructions when applying the coating to ensure proper adhesion and protection.
Step 6: Testing the Repaired Flange
After completing the repair and applying the anti - corrosion coating, it is essential to test the flange to ensure its functionality. Install the flange in the piping system and perform a pressure test. The pressure test should be conducted at a pressure that is slightly higher than the normal operating pressure of the system.
Monitor the flange for any signs of leakage during the pressure test. If there are any leaks, identify the source of the leak and make the necessary repairs. Once the pressure test is successful, the flange is ready to be put back into service.
Conclusion
Repairing a damaged BSP threaded flange requires careful inspection, proper cleaning, and appropriate repair techniques. By following the steps outlined in this blog post, you can effectively repair a damaged flange and ensure the continued operation of your piping system.
As a BSP threaded flange supplier, we offer a wide range of high - quality flanges, including NPT Threaded Flange, Stainless Steel Threaded Flange, and DIN Threaded Flanges. If you have any questions about flange repair or if you are interested in purchasing our products, please feel free to contact us for further discussion and procurement negotiation.
References
- "Piping Handbook" by Cameron, Neil.
- "Welding Handbook" by American Welding Society.
- Manufacturer's manuals for BSP threaded flanges.